Step 1 - Navigate to my Leave Request
(Click Image to Zoom)
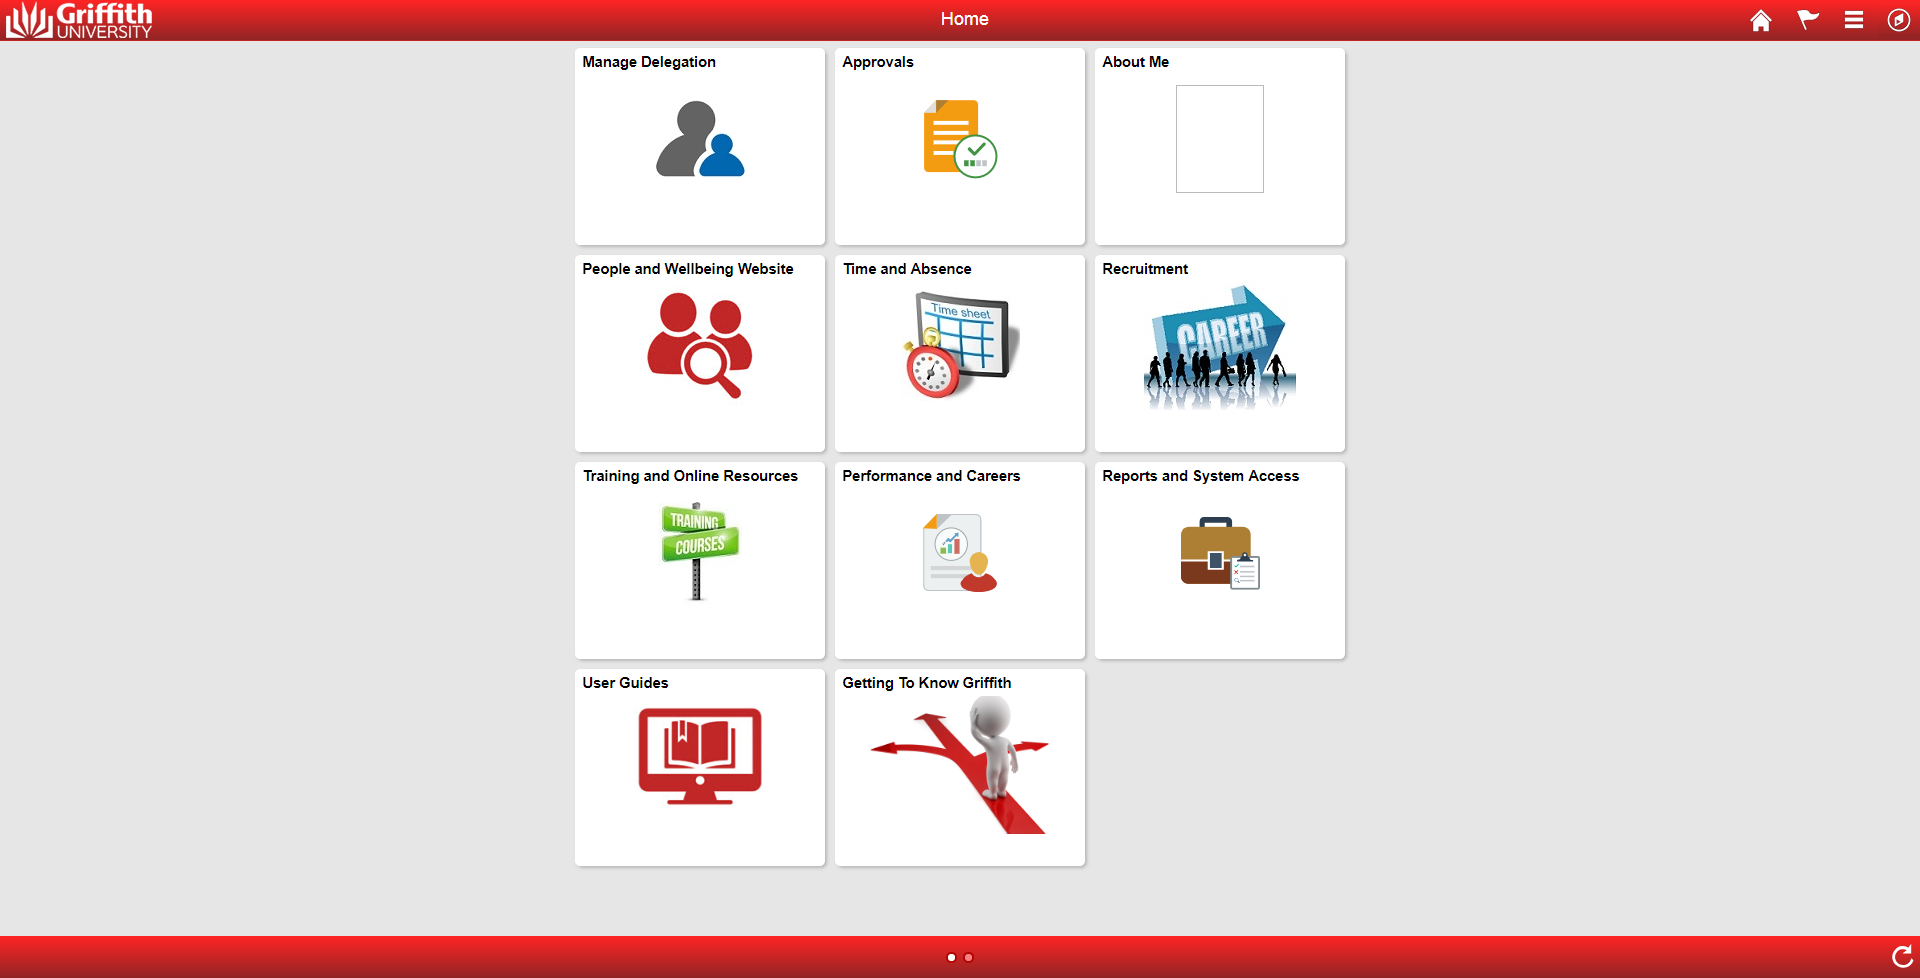
A series of ‘tiles’ will appear on your Home Page once you have logged in to My Staff Page. Click on the ‘Time and Absence’ tile
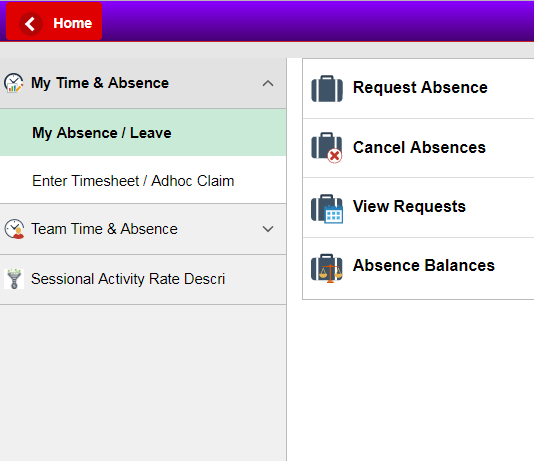
Left hand menu
lists all the menu items under each main heading.
The right hand screen
provides functionalities of the menu item chosen on the left hand screen.
- To start a new leave application, under My Time & Absence menu, click on My Absence / Leave on the left hand menu and select Request Absence on right hand side of the screen.
(Click Image to Zoom)
Step 2 - Enter a Leave Application
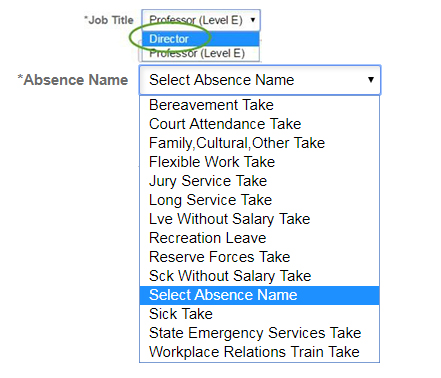
If you have multiple job records click on the records that require to request the leave against.
Select the Absence Name from the drop down list to continue with the leave application.
(Click Image to Zoom)
(Click Image to Zoom)
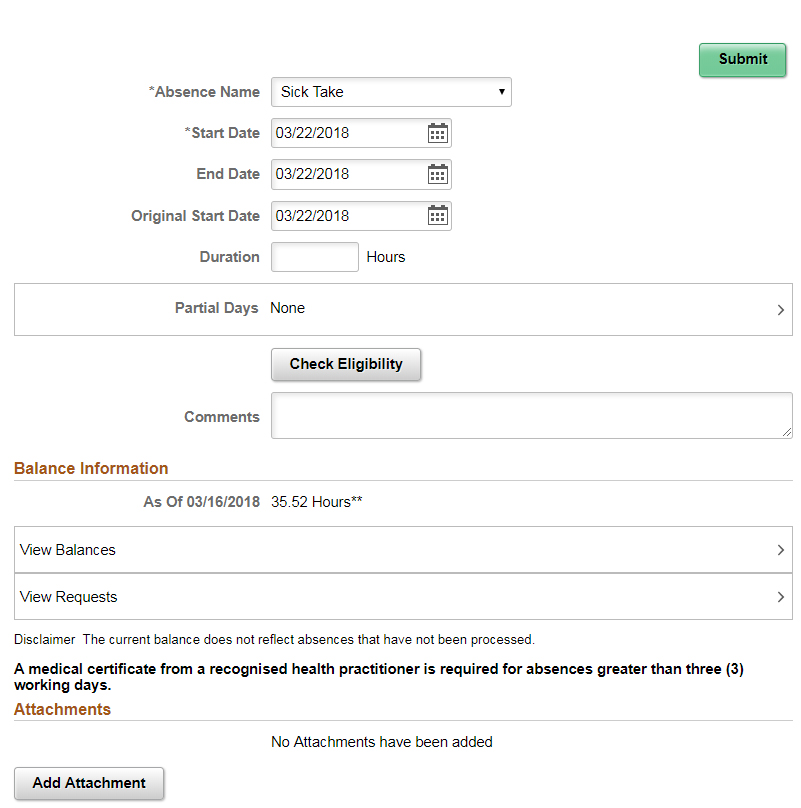
On selecting the Absence Name, the following form will appear.
If applying for a Full day the Partial days field will default to None, not required to select anything from the drop down list.
Click on:
![]()
to calculate the number of hours for the Leave that you have applied for.
This will populate the leave hours in the Balance Information field and display your current leave balance.

(Click Image to Zoom)
(Click Image to Zoom)
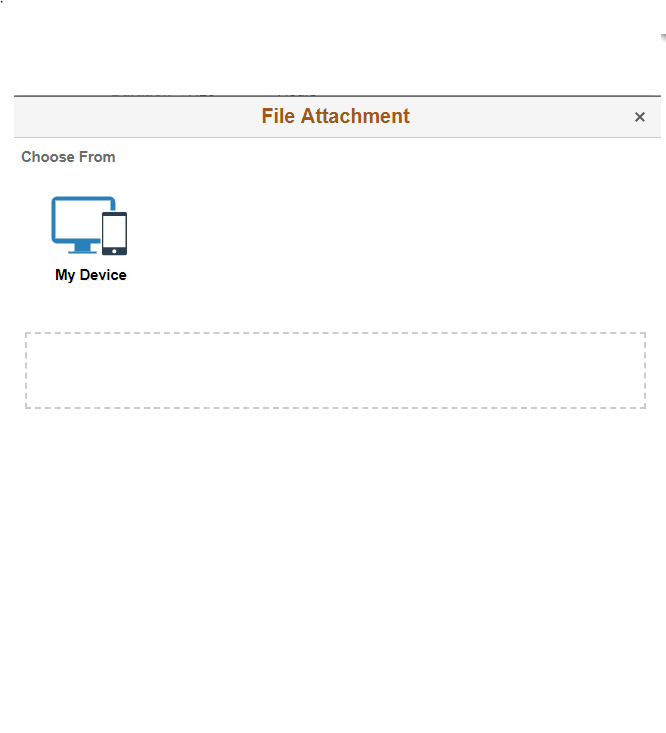
If you need to add relevant documents to your leave application, you can scan and
![]()
That may relate to your leave application e.g. Medical Certificate.
On the File Attachment pop-up window, select Choose ‘From My Device’, and ‘Upload’ document.
When complete, click on Done to continue.
![]()
Step 3 - Submit a Leave application
On completing all the required information, click the submit button to forward your leave application approval.
![]()
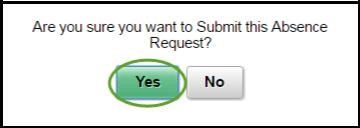
Click on Yes if you want to "Submit your Leave" application or No if you want to exit.
![]()
![]()
Once leave application is fully approved/denied, you will receive a confirmation email advising the approval/denial. If denied, please proceed to cancel the request or amend and resubmit.